to begin the whole series of lesson on ceramics, leng asked us to prepare a sandwich pack of soil/clay which was dug at least a foot deep from the ground....
and thanks to mr ang's buddy, pk, who got my classmates and me a pail of soil dug up from the construction site which he was supervising currently
step 1:
mash around the soil to remove any stones and organic beings (leaves, twigs etc), no matter how tiny they might be, within the soil/clay mixture as they will carbonised during the firing in the kiln and cause the pottery to crack or explode!!
Second, make a patty.
Measure and draw a line to indicate 10cm.
Then put it into the kiln to fire.
compare the 10cm length again to measure shrinkage rate of the soil/clay.
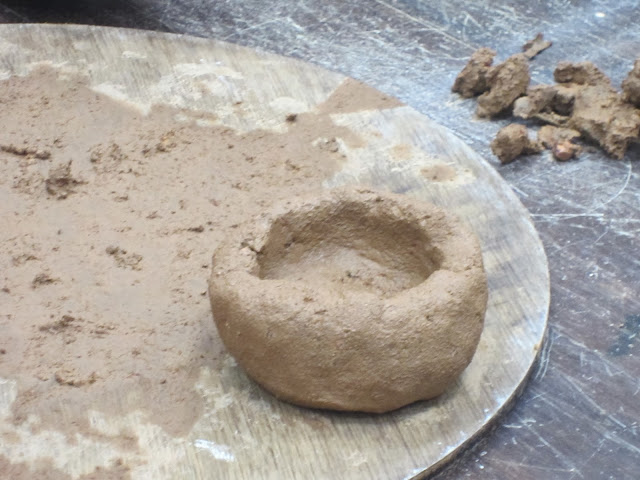
Leng demonstrating on how a pinch pot is made....
make a ball, poke a hole on top with your thumb and pinch.... heee
pinch pot
easy enough for the P1 to try???
Hands on time... =)
dun really like the feeling of the squishy squashiness feel... =S
made a rectangular pinch pot.... =) ... gonna used it to contain all my paper clips in school....
anyway, gifts from classmates for helping them to get the soil.... actually credit should go to pk and mr ang for ferrying the pail of soil around too.... =)
yummy yummy yummy... =)
~~~~~~~~~~~~~~~~~~~~~~~~~~~~~~~~~~~~~~~~~~~~~~~~~~~~~~~~~~~~~~~~~~~~~~~~~~~~~~~~~~~~~~~~~~~~~~~~
this is part 2 of 7 parts to the series "Advanced Diploma in Primary Art Education". A series of blog posts that are updated weekly (from aug - nov) to document the activities, progress and learning point(s) from the week's lessons... =)
Part 5 - IVP4405: Artistic Development of Children
Part 7 - IVP4407: Curriculum Development and Assessment


No comments:
Post a Comment