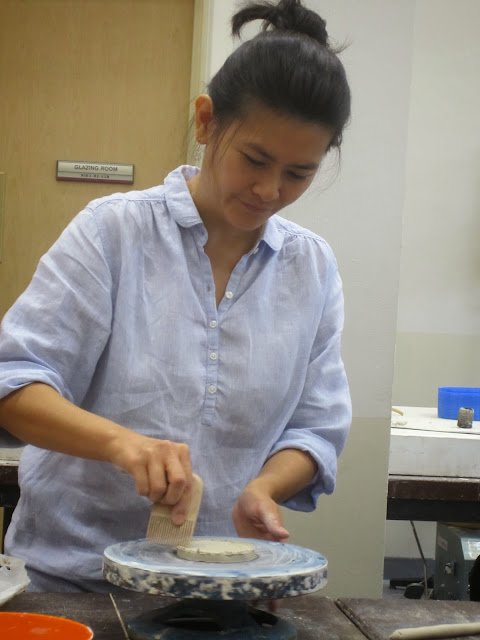
Coiling
step 1: make the base with a rolling pin and stick plank to ensure uniform thickness
step 2: 'draw' the shape of the base and remove excess clay
step 3: score (create scratch marks on) the surface with a comb-like objects
step 4: make a few dough stick look-alike
step 6: 'blend' the different layer of coils together to form a smooth surface so as to secure the vessel
then use a flat tool (big ice-cream stick) to smoothen the outside and inside of the vessel with upward and downward strokes respectively.
further smoothen the outside with a kidney piece or credit card
always remember to wrap the half - finished claywork in plastic bag to retain the moisture so that more coils can be added on within a week or so. by allowing the bottom layer to set, it gives the vessel a more solid base for higher levels to be added.
form the shape of any handle and leave it to harden for half an hour before attaching it to the vessel with scoring and slipping.
alternative to using rolling pin is to use the slab machine

i have this slab machine in school... i thought it was a mega print making machine lo.... wahahaha.... how come my other art teachers din tell me despite having done ceramics in nie???? hmmmm
the slab machine will be able to flatten this blob of clay
into this uniform flat piece in seconds... =)
Hands-on time... =)
clay --> bisque (biscuit) after the first round of firing

at the glaze station


something went wrong somewhere and my flowerpot ended up as pimple-poked as me.... =S
Slab work
Step 1:
use the slab machine to make huge slabs
Step 2:
cut out identical shapes for the base and cover of the vessel
Step 3:
range of colour glazes to choose from... =)
spoilt for choices so used as many colours as possible... wahahahaha

gloss coated
spoilt for choices so used as many colours as possible... wahahahaha

gloss coated
out of 3 ceramics work, only this one turns out not too bad....
phew! at least i get to keep a good one as a souvenir from this course... =)
~~~~~~~~~~~~~~~~~~~~~~~~~~~~~~~~~~~~~~~~~~~~~~~~~~~~~~~~~~~~~~~~~~~~~~~~~~~~~~~~~~~~~~~~~~~~~~~~
wheel throwing with raku clay, goldish brown.... very pretty colour compared to the which stoneware clay
managed to get this decent thingy only at the 3rd/4th try.... it's really not easy....
~~~~~~~~~~~~~~~~~~~~~~~~~~~~~~~~~~~~~~~~~~~~~~~~~~~~~~~~~~~~~~~~~~~~~~~~~~~~~~~~~~~~~~~~~~~~~~~~
this is part 2 of 7 parts to the series "Advanced Diploma in Primary Art Education". A series of blog posts that are updated weekly (from aug - nov) to document the activities, progress and learning point(s) from the week's lessons... =)
Part 5 - IVP4405: Artistic Development of Children
Part 7 - IVP4407: Curriculum Development and Assessment


No comments:
Post a Comment